
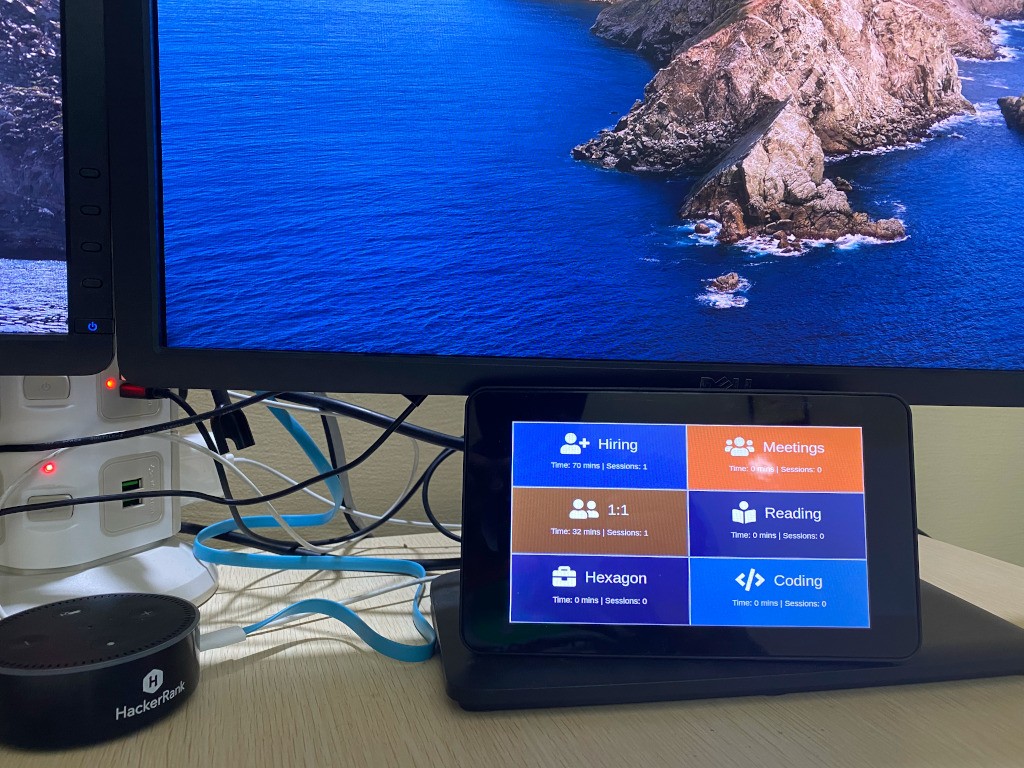
This is a step by step guide to build a raspberry pi with the touchscreen display. Before we get started, this is the final result of the setup at my work table.
Step 1
Install Raspberry OS. The easiest way to do this from a Mac is to use a Raspberry Pi Imager. Installing Raspberry Pi Imager and installing the OS in the SD card took less than 15 minutes and most of the time I was simply watching the progress bar move ahead. There is nothing much to do here after the installation is started. Probably a good time to make some coffee.
Step 2
During the first boot, the system might recommend for updating all software and packages. If this happens, I strongly recommend updating all the packages. In case, if this doesn’t happen, run the following three commands in your terminal
sudo apt-get update
sudo apt-get upgrade
sudo reboot
Step 3
At this point, it is very obvious to note that the screen is rotated. To change the screen rotation, add the line “display_rotate=2” to /boot/config.txt
sudo sh -c 'echo display_rotate=2 >> /boot/config.txt'
sudo reboot
Step 4
While the screen rotation is fixed, the touch (click) is still messed up. Touching (clicking) on the top right still triggers a click on the bottom left. Here is the article which explains both the display and touchscreen rotation issues. https://www.instructables.com/Rotate-Raspberry-Pi-Display-and-Touchscreen/
sudo vim /usr/share/X11/xorg.conf.d/40-libinput.conf
Add Option “TransformationMatrix” “-1 0 1 0 -1 1 0 0 1” to be added to the section with touchscreen. The whole section should be as follows
Section "InputClass"
    Identifier "libinput touchscreen catchall"
    MatchIsTouchScreen "on"
    MacthDevicePath "/dev/input/event*"
    Driver "libinput"
    Option "TransformationMatrix" "-1 0 1 0 -1 1 0 0 1"
EndSection
Step 5
At this point, it is better to enable ssh to enable remote access to the raspberry pi. It makes life so much easier.
sudo systemctl enable ssh
Step 6
The only step remaining is to run a script every time the raspberry pi boots.
sudo sh -c 'echo @bash /home/pi/init.sh >> /etc/xdg/lxsession/LXDE-pi/autostart'
sudo reboot
Step 7
For the last step, create a file called init.sh (the same name as we used in the previous step) in the /home/pi folder with the following contents
#!/bin/bash
chromium-browser --noerrdialogs --disable-infobars --kiosk https://sp2hari.com/timetracker/
This is all we need to build kiosk from a raspberry pi.